Each year Hoffman create a fabric, never seen before, and specifically released for the Hoffman Challenge.
The delicious rich colours and shades invite and challenge you to play and create something special.
If you explore the fantastic archive of past challenge fabrics and the truly amazing pieces people have made you will want to have a try !! http://www.hoffmanchallenge.com/
They are all there to inspire you and before you know it you will be sending off for the challenge fabric and then the fun begins !!!
There are six categories, Pieced Quilts / Appliqued Quilts / Mixed Technique / Dolls / Clothing / Accessories.
This years fabric when it was unveiled was bursting with colour and shapes. There are also a selection of co-ordinate fabrics each year should you choose to add some and of course you can mix other fabrics of your own choice too.
When I saw the 2015 fabric I thought . . . ‘wedding bouquet' .
What follows is my adventure . . .
I have only ever made one little fabric bouquet before and that was with chiffon.
This was a whole other approach. I wanted to make a structured flower arrangement, so rather that gather or fold the fabric I decided on cutting individual petal shapes and sewing on one by one.
I wanted to have a back to each petal - so I used a blue Hoffman fabric for that.
At this stage I suddenly realised the amount of petals I would have to cut out and sew !!!

Lace is a big part of any textile art or fabric jewellery I make so I knew I wanted to include some. In addition to adding antique Edwardian lace here and there I wanted to echo this in the stitching I used.
I love using water dissolvable fabric in my art, but had never tried using it to edge fabric. I am delighted I did try - it is a new favourite technique for me now (after so many petals - I have lots of practice).

If you haven’t tried it - please do. To make machine sewing easier sandwich the fabric between two pieces of solvy. Then just make sure the stitching all overlaps, so you don’t have stray threads.
( I love free machine embroidery. From the day I bought my sewing machine the feed dogs have stayed dropped and I don’t think I have ever stitched a straight line. )

Free stitch away in whatever edging style you want - then wash under water and the solvy disappears leaving a lacy edging . For hours I had them drying out like a lovely Hoffman meadow !

I edged more section lengths of fabric in the same lacy way and wrapped into buds.

But they needed an extra bit of structure so that I could get the petal shape I wanted so I experimented with fabric stiffener.
Although the spray ones are handy I found that they kept getting clogged. I ended up painting the stiffener on each petal and shaping them and then literally handing them out to dry !
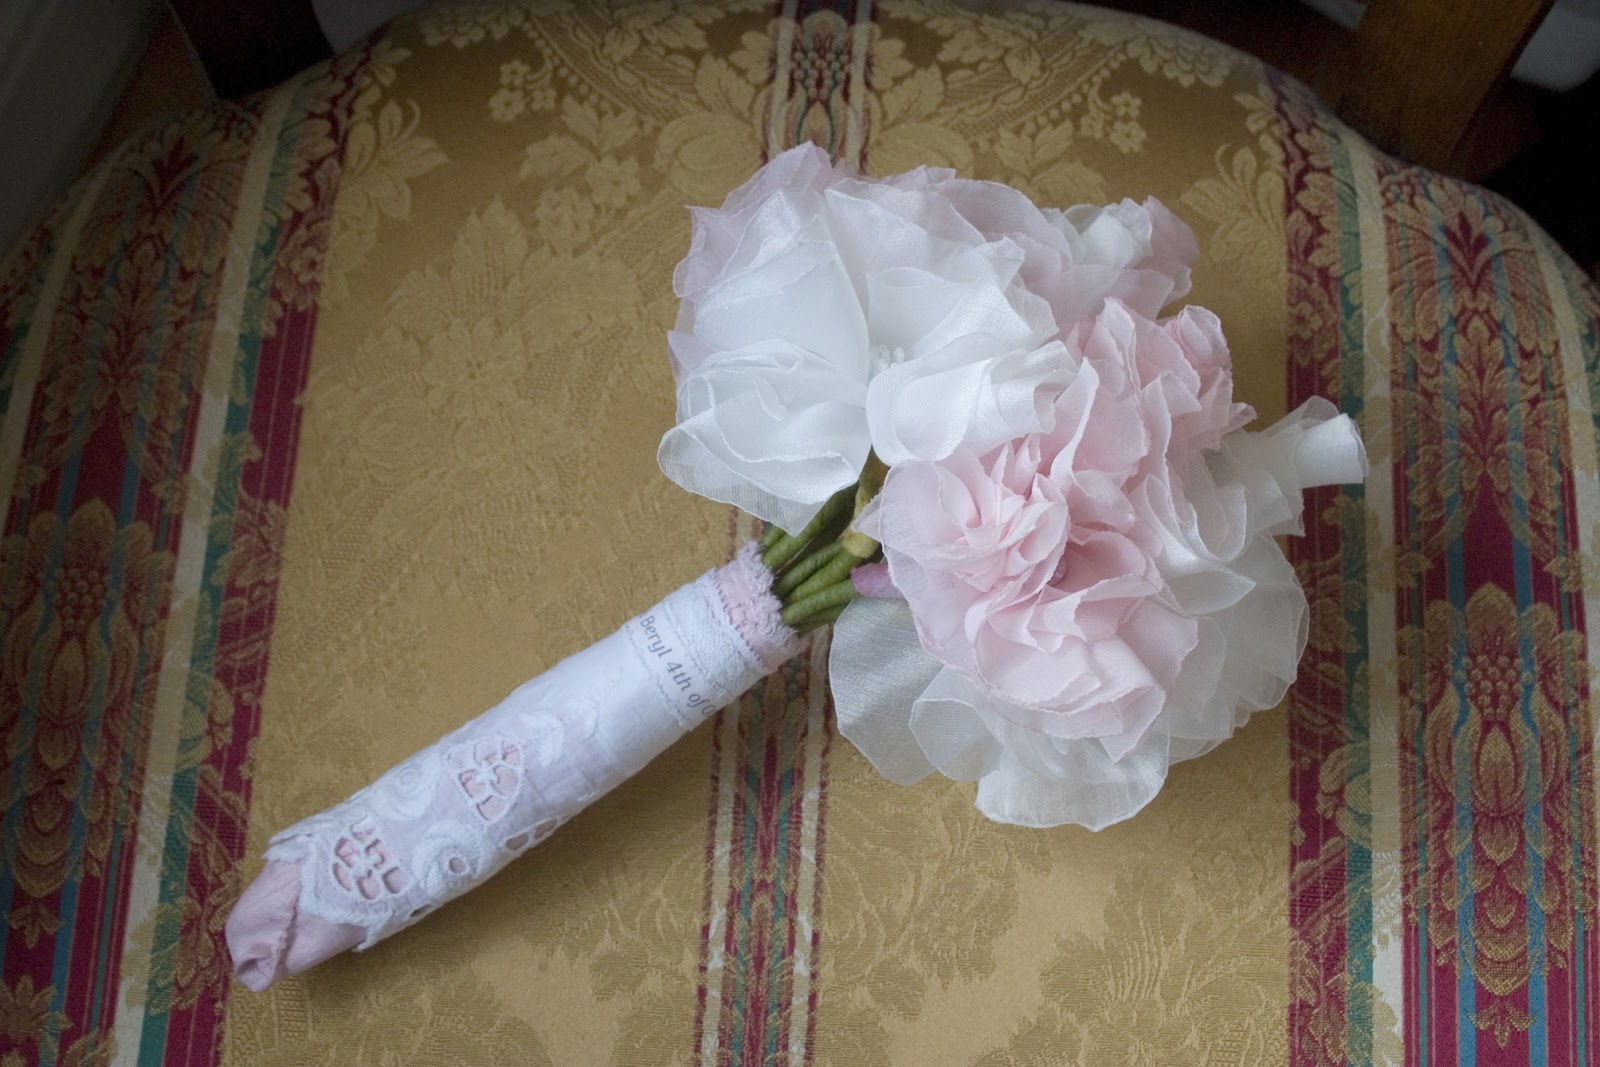
I made flower centres by wrapping the Hoffman fabric over wadding and attached to florist wire for stems.

I stitched five petals per flower and added Edwardian lace and some seed beads details.

I tried various ways to cover the wire stems and in the end settled on three layers.
Wrapping wadding, then florists green tape (which is slightly tacky and grips well) and then finally long strips of Hoffman fabric. I allowed the natural ‘fraying’ of the cut fabric to give the cottage ‘shabby chic’ finish. Finally at the top some hand dyed fabric in pale yellow.
Those three layers on all the stems were done watching a box set of ‘Boston Legal’ and a few episodes of ‘Grey’s Anatomy ! !

At this stage I realised that the flowers were making a hugely ‘busy’ display.
I did not want the fabric to be lost in the mix. I was getting a little lost myself and feeling over challenged ! My colourful flowers needed to be spaced out by some solid shades.
So I made some pale cream tulle flowers (with Hoffman fabric centres) and also added some deep green Irish tweed leaves.


At this point I had lots of individual flowers and had to start thinking how I would make a bouquet of them. A least a day of head scratching here.
For this challenge I did not want a bunch in the round - I wanted a flat display - as you would get in a box.
No matter how I tried tying them together they would not behave and stay in place. So I started sewing the stems to each other until I had a solid bouquet. I intertwined the stems like a little sculpture root system.

The next day looking at the stems I thought . . . bug, this really needs a bug.
That is what was so great about this years Hoffman fabric design - you can find things there in the pattern . . and I found my bug (of course I called him Hoff).


The next challenge was to make ribbon for the bouquet.
I cut long strips of fabric and added tulle and used the dissolvable fabric again to embroider it all together. A wash in water - dissolve the solvy and I had a custom ribbon.


A little bow . . . and it's a wrap !


Although I had a doll display stand that would hold the bouquet upright I still wanted to present it as flowers in a box. I found a lovely neat box that would protect during postage and also present the bouquet the way I wanted.

For the lining of the box I used some vintage linen. It was a tablecloth from my childhood that was only brought out for ‘special occasions’. I associate it with Christmas and Birthdays and visitors from America !
I love reusing vintage fabric and giving it a new life.
I made my first attempt at cutting out fabric letters . . hopelessly !
I then painted the fabric with stiffener and when bone dry I cut them out . . easily.
Another new trick learnt !

A dab of stiffener and a quick iron onto my linen and I had lettering ready to embroider.
French knots are one of my favourite embroidery stitches.
Lots of them here - took at least three episodes of ‘Friends’ to do !


The final element I wanted to add was words.
I few favourite quotes printed onto cotton and a few tiny flowers (those small coin motifs in the fabric were begging to be used) and I was nearly done.
I just edged the linen with antique lace (in the straightest line my dropped feed dogs would allow) and the challenge adventure was over.


It is always a mixture of emotions finishing something that had taken awhile to do.
I was great to see it made - and it was also sad to be done.
I loved every minute . . . I wonder what next years Hoffman Challenge fabric will look like . . .


Edited : I was so very thrilled and delighted to hear that my bouquet won first in the Accessories category !!! Thank you Hoffman for the fun and the award !!