Showing posts with label embroidery. Show all posts

Friday, 29 January 2021

'I'm Still Here'

Textile embroidery wrapped on canvas 50cm x 70cm


Exhibition theme
I was delighted to be part of the Irish Guild of Embroiderers exhibition at the Lexicon Library, Dun Laoghaire Co Dublin.
The theme was ‘Meetings’ and the selection of embroidery and textiles by members was fantastic.
The exhibition in August 2018  (took me awhile to finally write this blog post).
Here are some photos of parts of the process.

I always start a large textile textile piece for an exhibition with a mixture of excitement and buzz of ideas.
Then after the initial flurry of looking at materials and scribbling notes I get that uncertain stage . . . what exactly do I do ???
Eventually I decided that my slant on the theme of meetings would be . . . meeting time head on !

This ended up a very personal piece about awareness of ageing.
Contrasting the different seasons and physical changes in flowers / pods etc
My mother told me only ever admit to age of 37 - no more.
No matter what happened in her life she would say “I’m still here”
Now I find myself saying it.

Starting 
I started off with a black felt background to give depth to my colours.
I dyed my silk background with flowers, leaves and some rusty bits and then did some water ripple effects with free machine embroidery. I added felt under the silk to form stones.
I always start with stitching my first elements individually, so that I can change my arrangement as I go along. Elements get added and eliminated as I go . .  like chopped up the fabrics to fit until I was eventually content !! (after lots of standing back and looking at it  !)
Starting to take shape.


On my lap
I enjoy seeing the beautiful work done in embroidery hoops. 
But I am not a ‘hoop girl’ . . . I am an ‘on my lap girl’ and apart from some small amount of free machine embroidery, I hand stitch every tiny or huge project on my lap and love the control I have.
However that might be cosy in winter months but can be a bit too warm on hot days.
Like having a constant heavy blanket on my knees !!


Flowers
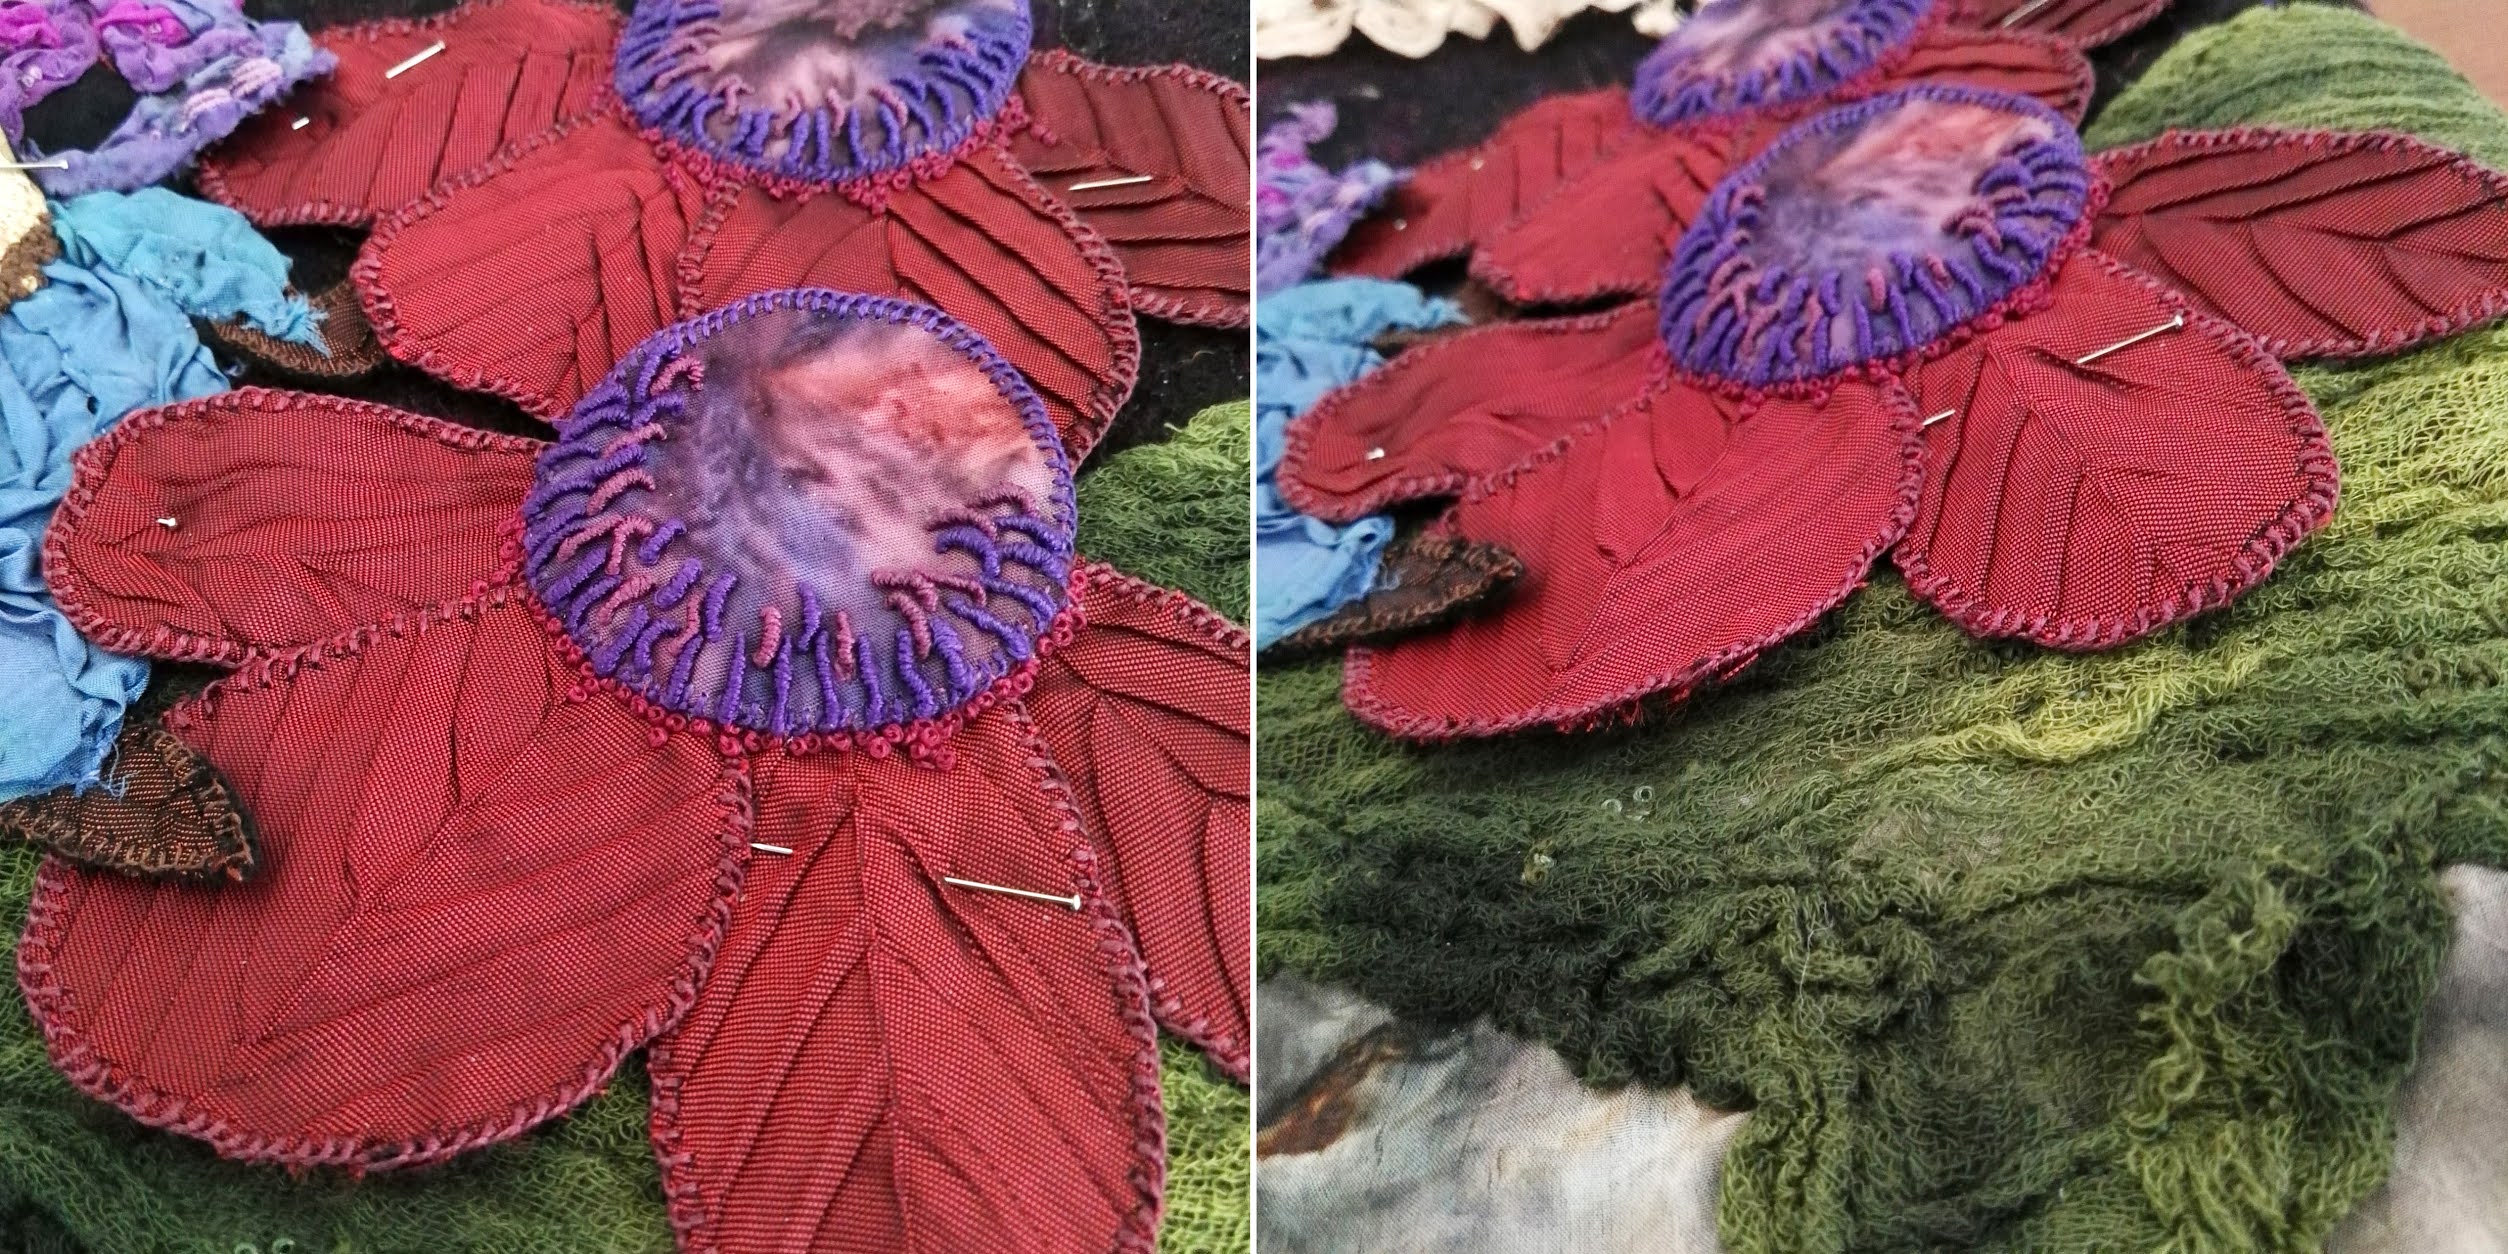
I wanted the top flowers to be the big bright full bloom ones, the vibrant young ones.
I used silks mixed with antique lace and a mix of texture stitching like french knots and bullion. I added lovely deep green scrim as a mossy base for them to grow on !



Seed pods
One of the things I love to stitch the most is the gorgeous seed pod.
I love the complex layers they have and most of all that although they are often the end cycle of the flower or plant they are still so beautiful.
I again used silk I eco dyed with dark flowers and rust and of course more yummy antique lace.
I often buy the antique and vintage lace other people reject - the damaged torn pieces.
I love the history and I will rip and intertwine it with my stitching.


Painting lace
Sometimes the lace, although very old, need to look darker so I paint it.
I use watercolour pencils and deepen the colour to suit my textile piece.
Love the way this is often call ‘to sadden’ !!


Dandelion
Another thing I love to stitch . . dandelions at the seed stage. The make a wish stage !
Antique lace at the centre and work around it.


Mushroom
Another addition to the older section of my textile art are mushrooms.
Who doesn’t like stitching mushrooms?
More of my dyed silk and antique lace.


Stems and roots
They were such fun to make !
I suppose partly due to the fact that at this stage I was well into the project and also finally feeling I was making progress and also because I just love making them.
Some I made by wet felt rolling out for roots and then I had to ‘dirty up’ with watercolour and coffee.
You can get lovely thin root ends by hand rubbing felt.
Others I made by ripping and twisting fabric to form stems and thicker roots.


Lace ending
Finally I gave the mixed garden a strong base and anchor by lots of dark antique lace at bottom.


Sign off
I added my wording ‘I’m still here’ just like my mother 
. . . and stitching keeps me that way . . still here 


Thursday, 22 December 2016

Making an Embroidered Purse

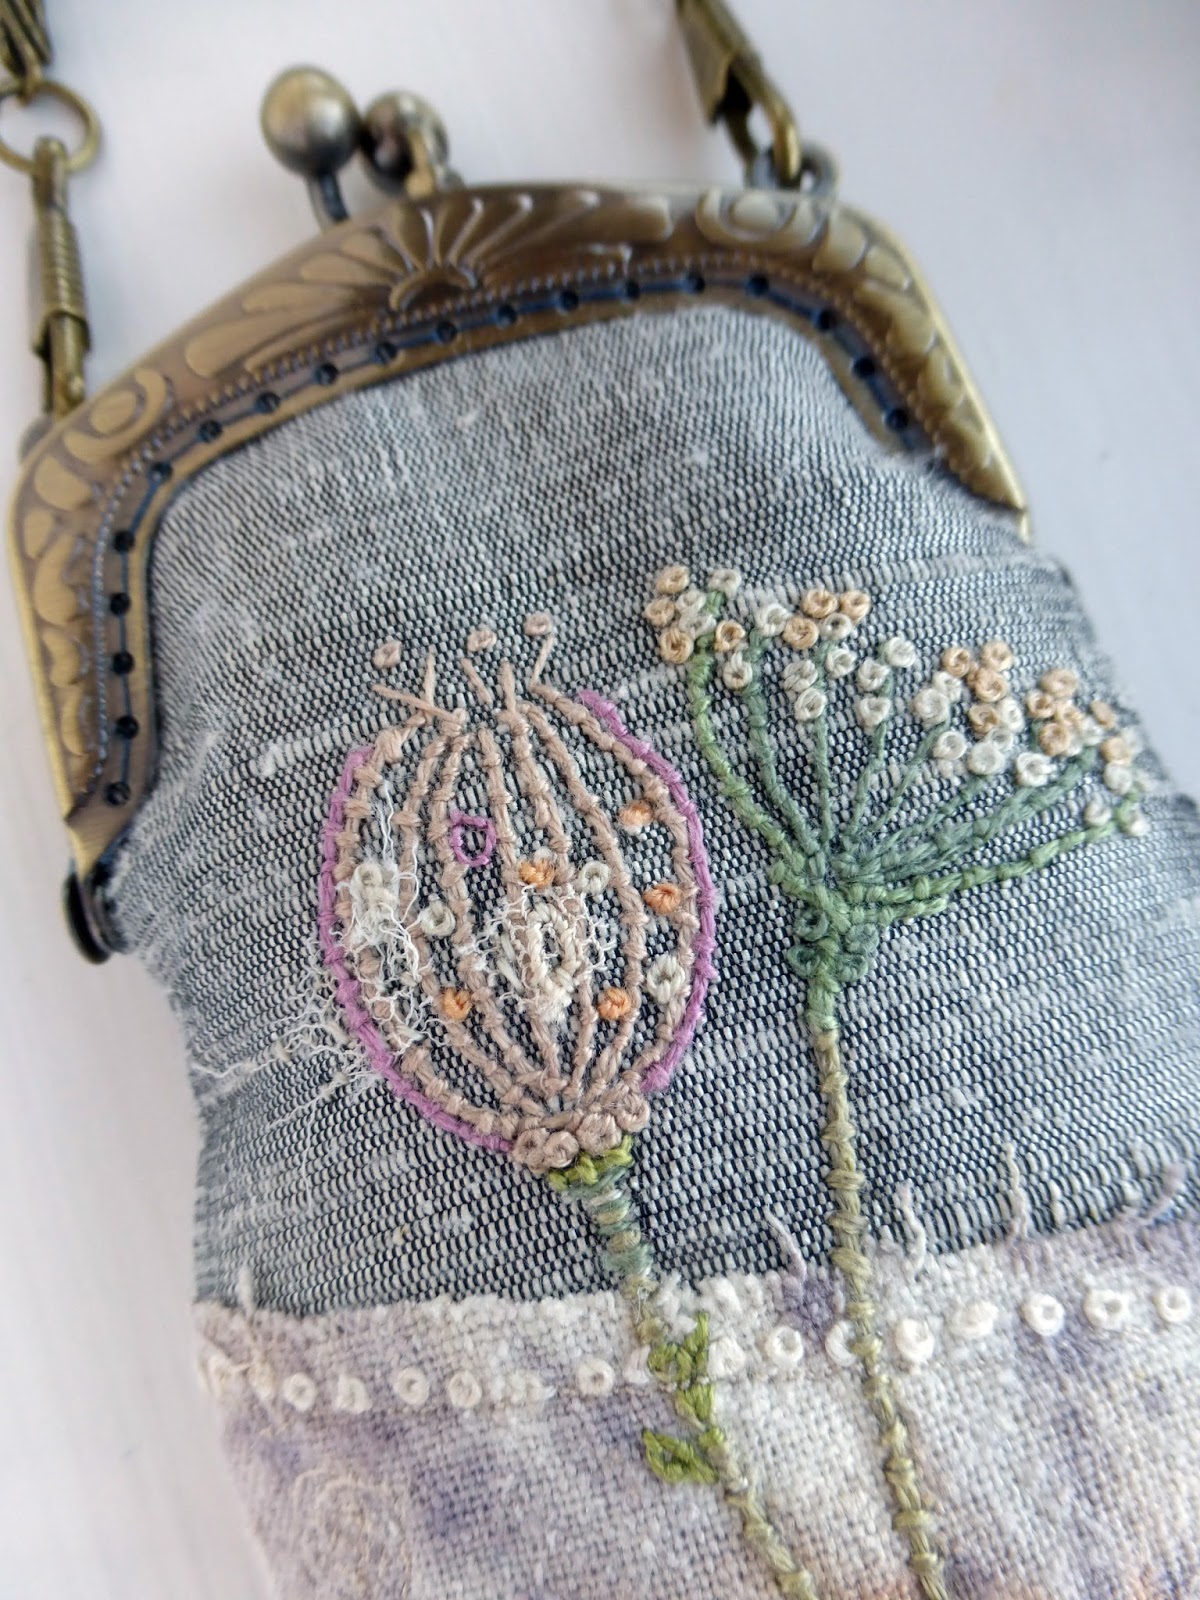
This is my first embroidered purse ( a gift for a friend ). She was looking for a glasses purse that she could wear around her neck. I’ve wanted to make a purse for ages so this was my Christmas project !
My biggest problem was sourcing the purse frame as I wanted one that had two links to attach the chain. The only size I could find to order was slight smaller than I would have liked and I was worried that glasses might not squeeze in !!


First I eco dyed some silk noil as a background. The silk noil has more ‘bite’ that slippery silk and is easier to embroider into, also a lot hardier for use as a purse.
There are less blooms to choose from in winter but I have a kind local florist who had some roses and eucalyptus that were about to be binned. I wrapped and steamed my silk noil and left for a few days to dry. When unwrapped I was pleased that the flowers had given soft shades and the eucalyptus had blended with the rose leaves and given defined green shapes.


I gave myself a basic shape to embroider into and tacked the dyed silk down.
The base under material I choose was cut from a discontinued upholstery fabric swatch book - my purse was starting to be very eco ! The grey fabric had a slight sheen was a nice neutral starting point to lay the dyed silk over.
It is so easy to be nervous and take too long to pick the ‘perfect’ section to cut and this part of a project is the hardest for me. Once I am committed I enjoy the process but the first choices of colour and layout selection are often painfully long for poor indecisive me !
Really .  .   .  you have no idea how long I debate and agonize !!!
To help with this I usually photograph my fabrics in position and then print a few A4 sheets where I can draw some ideas for embroidery before I start to stitch.


Choosing the antique lace is much easier. I have a large collection of Edwardian and Victorian lace and I have divided it into shades and style and size. Old lace is very beautiful and so any choice is a good one. You can’t go wrong with antique lace.
I took inspiration from the natural marks that the flowers and leaves had left on the silk noil to layout the lace and build a flowerbed.


On one side I stitched wild lavender and daisy and a fossil spiral. The shades of purple and pink give a very vintage style to the purse.
The other side I embroidered an open pod with small scraps of antique lace trapped inside. Also some cow parsley as I always love to include french knots.


For an extra bit of colour I stitched a blue moth - an exotic little creature to sit in my antique garden.  The moth was born out of reused work .   .   even more eco! 
Years ago I had some designer knitwear in a fashion awards show and had silk painted a dress for the model to wear with it. It had swirls of marine colours and fish and has been a fantastic source of scrap silk for some time now. I have never been afraid to cut up past work to reuse and relove !


Stitching the purse together and onto the frame was certainly a learning curve !!
It was not easy and there are things I will change next time . . . but all in all I did very much enjoy making my first fabric embroidered purse.
I put it in some tissue and Christmas wrap and it is now ready to give to my good friend Barbara
.  .  .  . just hope her glasses fit !

Monday, 26 September 2016

Sea Queen finally crowned !


This year I was delighted to be part of the Irish Guild of Embroiderers exhibition at the Lexicon Library, Dun Laoghaire Co Dublin.
The theme was ‘Marine’ and the selection of embroidery and textiles by members was fantastic.
The exhibition from 10th September until 5th November 2016 (so still on while I write this blog post). Here are some photos of parts of the process.
Whenever I complete a complex large piece of textile art that has lived so long on my work table, on my sewing machine and on my lap
 .  .  .  it feels strange to stitch the last stitch and cut the last thread.
I do love making small portable pieces but every now and then it is lovely to get absorbed in planning and making a large one.
But I never think about just how much time it will take at the start !

The theme was ‘Marine’ and immediately I had the idea to make a sea lady with a dress made of a shoal of fish.


I eco dyed silk with flowers and rust and added this to indigo dyed silk and did a rough layout of the fabrics onto black felt.
The black felt deepened the colours of the silk and gave me a nice base to stitch to.

Next came the sketching and layout of my figure (which at this stage I had upgraded her to a queen). I wanted her to be at the centre of a deep underwater sea cliff.


I drew my figure onto some natural flat felt (using black biro actually!) and then painted shadow and tone with watercolour.


I choose a palate of threads and started to build up her face and arms with hand stitching.
I think this was my favourite part of the work and a total experiment as I had not embroidered a face before.
I realised that for this piece less was more and did not fill in everywhere. The watercolour shading was a huge help.


For her hair I used dyed wool fleece attached with tiny hand stitches ! 


I used some lovely blue tulle for her dress and stitched this flat before adding the fish.
I am lucky to have a friend who designs curtains and soft furnishing for period homes and who kindly gives me pieces of delicious high end silks from sample books and discontinued collections.


My shoal of fish were born in this way and after making some basic traced shapes I spent a few days cutting out fish. I them machine embroidered the edges, scales and details. I could then add them one by one to make the dress.


One of my passions is antique lace and it features in most pieces I make.
So here and there I added some, softening the whiter pieces with tea stain.
The main lace (Edwardian and Victorian) is in the crown and through her hair.

After all the main elements were finally in place I had fun with the other hand embroidered details. 


I made an anchor with some silk I had rust dyed - and  ‘aged’ it with stitched marks.


Then I ‘grew’ lots of underwater plants and algae to decorate the queen’s garden.


Rocks made with cut felt shapes, seaweed made with silk strips, embroidered shell fossils on the cliff sides .  .  .


and then an octopus cloak !
Each addition made the piece heavier and heavier to twist and turn !


I worked on my textile Sea Queen for quite awhile and the very last part I added was the antique lace crown !! She is stretched and wrapped on 50cm x 100cm canvas.